Last updated on 9 April, 2018, 8:56pm by
I had a job a few months back where this skin implementation was required and it will some Sherlock Holmes business, to track down any support documentation for how to go about it. I've documented the steps taken and hope this can save someone else a few hours of headache!
To serve a skin/wallpaper through a single ad unit via DoubleClick Studio, it’s possible, and fairly straightforward using custom elements. Three scripts need to be imported into the head of your html file, in the order below.
Note: You'll probably have the enabler imported already, just make sure the additional scripts are subsequently loaded.
         [your other elements]
         <script src="https://s0.2mdn.net/ads/studio/Enabler.js"></script>
         <script src="//www.gstatic.com/external_hosted/polymer/custom.elements.min.js"></script>
         <script src="//www.gstatic.com/ads/ci/studio/clickableskin/1/clickableskin_min.js"></script>
To add your skin and configure any optional parameters, include the following custom tag before your closing body tag. The configurable attributes are self explanatory and can be modified as required.
Note: You may find further details for specific attributes at the following support page: https://support.google.com/richmedia/answer/6179439
         [your other page elements]
         <ci-studio-clickableskin
             backgroundcolor="#CCCCCC"
             usebackgroundcolor="true"
             backgroundattachment="fixed"
             backgroundimagefilename="your_filename_path_relative_to_index_file.jpg"
             leftsideisclickable="true"
             rightsideisclickable="true"
             leftsideexitname="Left_Clickthrough"
             rightsideexitname="Right_Clickthrough"
             leftsidewidth="840"
             rightsidewidth="840">
         </ci-studio-clickableskin>
         <!--note above leftsidewidth and rightsidewidth set to 840,
         the skin/jpg in this example would have a width of 1680-->
         </body>
If you're adding clickthroughs to your skin, you'll need to add exits as below in your JS. Just remember that the exit names need to match whatever name you have specified in the custom element. In this case "Left_Clickthrough" and "Right_Clickthrough".
        <script>
        [your other script elements]
        //skin clickthroughs
        Enabler.exit('Left_Clickthrough');
        Enabler.exit('Right_Clickthrough');
        </script>
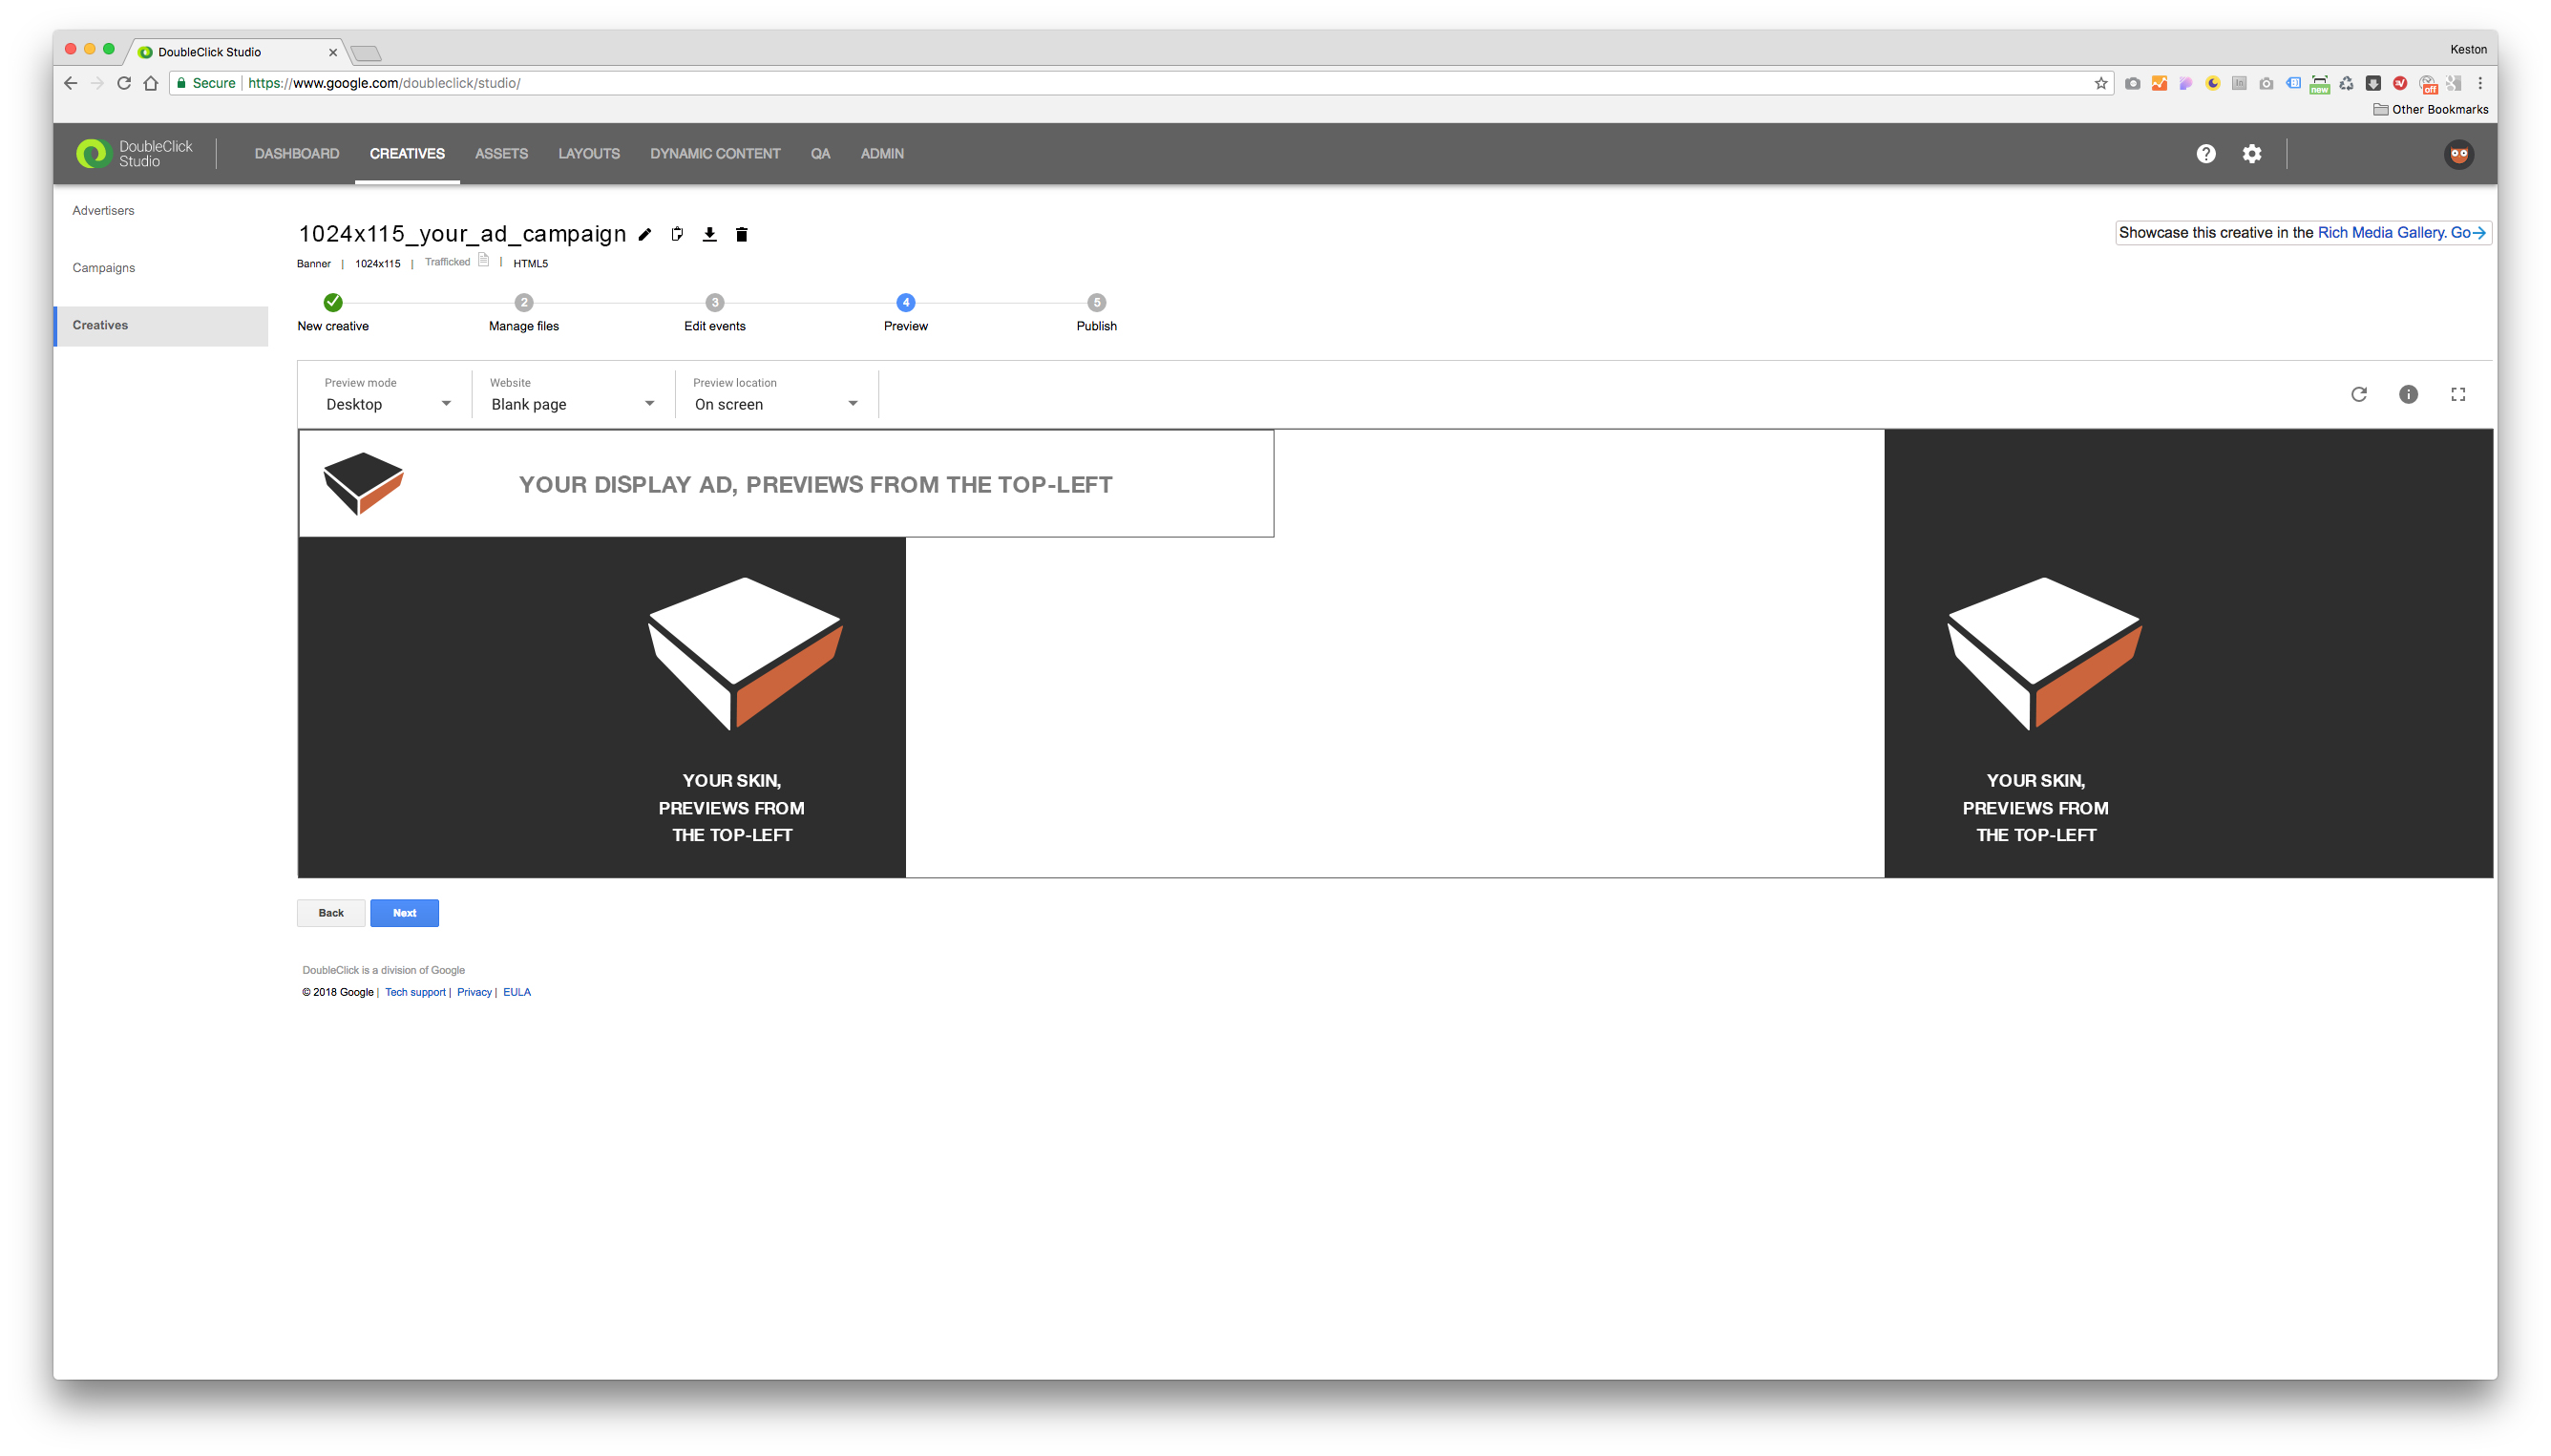
When previewing in DC, you might find that your skin/wallpaper doesn't appear in the centre of the preview window, but instead aligned top-left. This is normal and shouldn't be an issue when served in an actual ad placement. To be safe, request a test page be setup via the ad publisher in advance for peace of mind that all is functioning correctly.
And that should be all you need to implement a skin being served via a single ad unit!
Hope this helps,
Keston